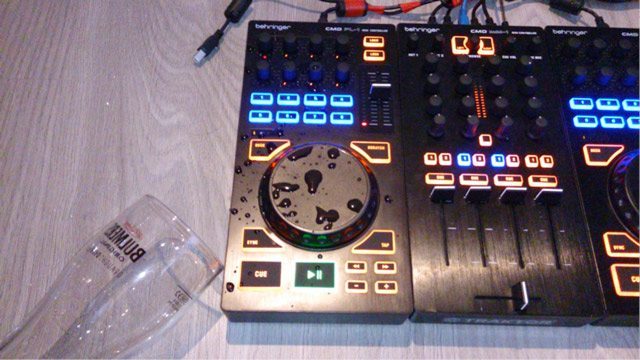
We all know the horror of spilling beer or some other liquid on our beloved DJ gear. Chances are that at one time or another, you or a friend has had the unthinkable happen at a gig or a party. Fear not, though—it doesn't always have to be the end of the world. Knowing what to do and acting quickly can save your precious equipment—and possibly some disappointment and money. Here’s how to do DJ-gear damage control when disaster strikes.
WHAT CAN HAPPEN
It’s the end of a night, you've been playing for several hours, maybe knocked back a beer or two yourself. You take your eye off the ball for a second and disaster strikes! A drink is splashed all over your gear, pouring into all every opening—between the jog-wheels and into faders, or all over your laptop’s keyboard. When this happens, you don’t have a second to waste if you want to save your stuff from a watery death.
ACT QUICKLY
If you’re a “show must go on” kind of performer, then by all means, find some other method of keeping the set going—but that’s not what this story is about. Quite the contrary, we are in “forget about the music” mode now and trying to rescue your gear. The first things you need to do are:
1. Pull out your power cables and battery (in the case of a laptop)

The first immediate danger is short circuits developing inside your gear. When liquid touches electronics, it conducts electricity to every component it touches. This can and will destroy the fragile components inside. You only have a matter of seconds to act, so be quick. Power cables come first here, as they often carry the most power and circuit-damage potential, so unplug them immediately. If your laptop is involved, remove the battery right away as well.
2. Pull out USB any cables

USB cables conduct power—5V at 500mA to be precise—often providing it to MIDI controllers and audio interfaces. These need to be removed right away for the same reasons outlined in the first point.
3. Turn your equipment upside down

If liquid is running into your equipment from the top, turning it upside down reverses the flow away from the circuits inside.
4. Pull out audio cables

Lastly, pull out your audio cables. There are usually more cables here there anywhere else, and they take a bit longer to remove—but they still carry power.
5. Dry everything as much as possible

Obviously, you will want to dry off your gear and the surrounding area. If you couldn't find a towel or rag before, now is the time to get one. Be sure to dry everything as best as you possibly can. Hopefully the equipment will be saved from real damage, but you’re not out of the woods yet.
GEAR RESURRECTION
Your gear might be dry, but that doesn't mean it’s safe—or that it will work again. Hopefully you managed to limit the damage caused by following the previous steps, and doing so quickly.
The problem now is, how do you get that corrosive, sticky gunk out of your equipment? Well, you’re going to have to open it up. THIS WILL VOID YOUR WARRANTY! But warranties generally don’t cover Budweiser spillage, so you have nothing to lose if your gear needs to be fixed. Beer and other beverages contain all kinds of corrosive salts and sugars, which will destroy metal contacts, rendering switches and components useless.
Move everything to an area away from any shag carpets or any other sources of static—and don’t wear a woolly sweater here.
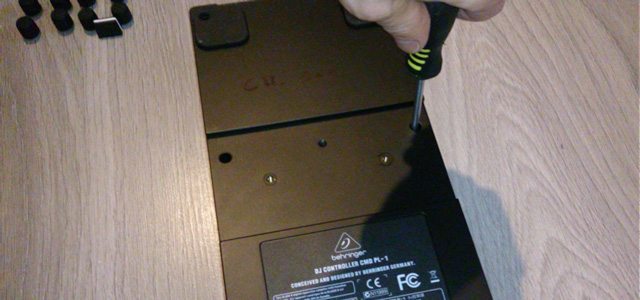
Start by removing knobs and fader caps. Then remove the screws on the back, taking note of exactly where they go. I like to put them on a table and arrange them in the positions they came out of.

It’s important not to force anything, especially in the case of laptops. They often have lots of clips that need to be gently pried, so if it’s not coming off, then you have probably missed a screw. Also, be careful not to pull on any wires or ribbon cables.

Now you need to assess the damage; chances are that it’s still wet inside.

Remove all of the wet circuit boards and plastic or metal parts, taking care to note the locations of wires and components. Note: Your laptop has a CMOS battery in it, which looks like a watch battery; this needs to be removed as well.
CLEANING

Now you need to wash the damaged parts with clean water. This isn’t as crazy as it looks. As long as there is no power going through it, your gear will survive this step. I usually run a cold tap over the parts for five minutes. This also can be done with circuit boards, providing all power has been drained from them. For a laptop, you might want to leave it over night to completely discharge. The point is to totally remove any gunk from inside switches or hiding under chips and things. It is also possible to use denatured alcohol (not the Gentleman Jack that got you here), distilled water, or contact cleaner for this process. I use water as it’s cheap, and everyone has a tap—but if your water is particularly hard, you may want to go the route of distilled water, just to be safe.
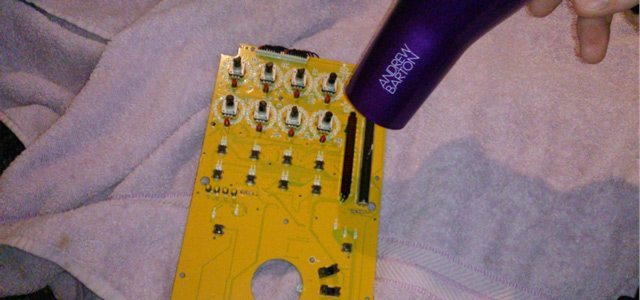
Once your gear is thoroughly cleaned, use a hairdryer to gently dry everything off. Take care not to melt anything here. Don’t use high heat —just use enough to make everything dry as a bone.
REASSEMBLY

When everything is dry and clean, it’s time to put it all back together. If you made a note of how it came apart, then this should be easy. Just reassemble it all accordingly.
THE MOMENT OF TRUTH

Now it’s the tentative moment of switching it all back on. Hopefully it will work on the first try with no problems. Occasionally, you will have a sticky button or fader left and it will need to be rinsed again with warmer water. And you might find that you still need to replace some parts that just won’t come back to life. In the worst-case scenario, it may be completely dead. If it’s your laptop that’s dead, and it won’t come back to life, you might have to replace the motherboard (often called the main board). eBay is usually a good recourse for affordable main boards.
Remember, an ounce of prevention is better than a pound of cure. Always take care of your equipment and never let liquids anywhere near it, for any reason. It is your livelihood after all. Good luck!
Source :::::::::: DJTechTools
No comments:
Post a Comment